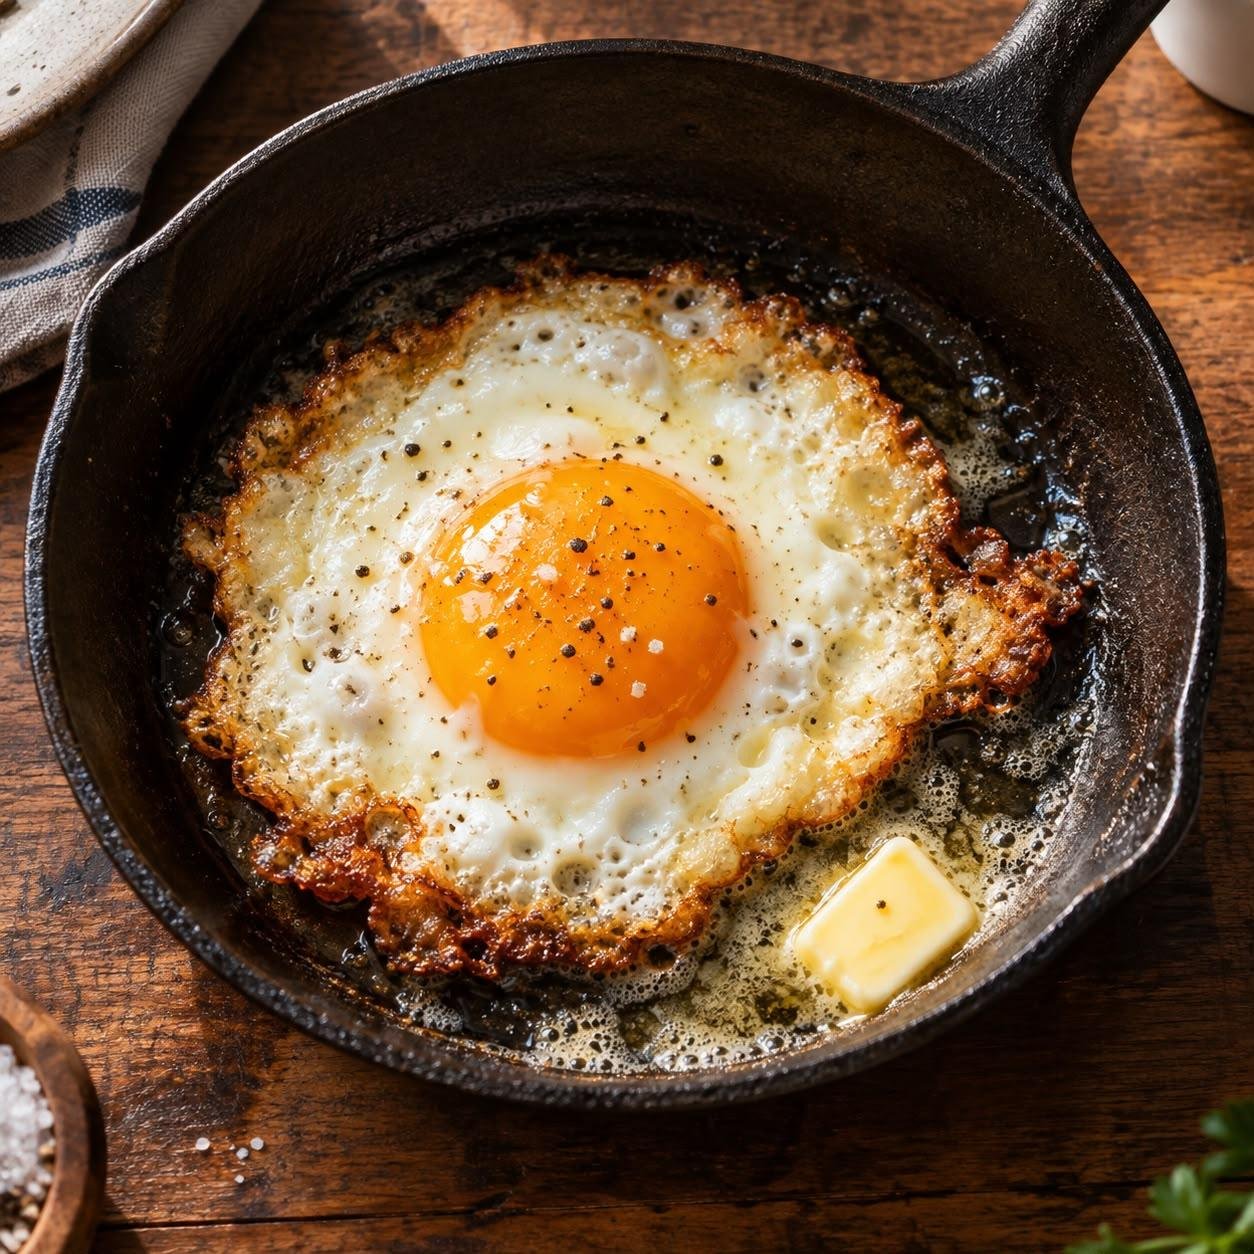
A perfectly fried egg seems simple — crack, cook, serve. Yet anyone who’s spent time in a kitchen knows the truth: fried eggs are surprisingly easy to mess up. Rubbery whites, burnt edges, yolks that break before they reach the plate, eggs that stick to the pan no matter what you do. If you’ve ever wondered how restaurants serve flawless fried eggs every single time, this guide is for you.
The secret isn’t fancy equipment or professional training. It’s understanding a few key principles about heat, fat, and timing. Once you master these, perfect fried eggs become effortless — every single time.
Start With the Right Pan
Your pan choice matters more than almost anything else. For fried eggs, you have two excellent options: a well-seasoned cast iron skillet or a quality non-stick pan.
A non-stick pan is the easiest route for beginners. It forgives mistakes, requires less fat, and releases eggs cleanly. Choose one with a heavy bottom for even heat distribution — thin, cheap non-stick pans develop hot spots that burn one side of your egg while undercooking the other.
A cast iron skillet, properly seasoned, is the professional’s choice. It holds heat beautifully, creates those crispy, lacy edges everyone loves, and will last a lifetime. The only catch: it requires correct preheating and enough fat, or the egg will stick.
Whatever you choose, avoid stainless steel unless you’re confident — eggs bond aggressively to bare stainless.
The Fat: Butter vs. Oil
This choice changes everything about your final egg.
Butter gives you flavor — rich, nutty, and slightly sweet. It also browns the edges of the egg beautifully. The risk: butter burns at high temperatures. That’s why the technique matters: melt your butter over medium heat, and when it stops foaming and just begins to smell nutty, it’s ready.
Oil (vegetable, canola, or avocado oil) handles higher heat without burning and creates those crispy, bubbly edges — what chefs call “lacy edges.” Many cooks use a combination: a little oil for the heat tolerance, plus a knob of butter at the end for flavor.
How much fat? About one tablespoon per egg. Too little, and sticking is guaranteed. Too much, and your egg swims in grease.
The Heat: Medium Is Everything
The single biggest mistake home cooks make with fried eggs is cooking them too hot. High heat toughens the whites, makes them rubbery and bubbly with brown spots, while leaving the yolk undercooked.
The correct approach: preheat your pan over medium heat for about 2 minutes. It should feel hot when you hold your hand a few inches above it. Add your fat, let it melt and coat the pan, then crack your egg in.
The egg should sizzle gently — not violently. If it erupts in aggressive bubbles and spitting fat, your pan is too hot. Remove it from the burner for 30 seconds, then return to medium-low.
Crack Like a Pro
Always crack your egg into a small bowl first — never directly into the pan. This prevents shell fragments from ending up in your food and lets you slide the egg into the pan in one smooth, gentle motion, keeping the yolk perfectly centered.
Crack on a flat surface, not the edge of a bowl. Cracking on an edge pushes shell shards inward, while a flat surface creates a clean break.
The Two Styles: Sunny-Side Up vs. Over Easy
For sunny-side up (cooked on one side only): cook the egg for about 3 minutes, until the whites are fully set but the yolk is still runny. If the whites on top refuse to set, add a teaspoon of water to the pan and cover with a lid for 30 seconds. The steam gently cooks the top without flipping — this is the restaurant trick for perfect sunny-side eggs.
For over easy (flipped, runny yolk): cook for about 2 minutes until the whites are mostly set, then slide a thin, flexible spatula under the egg and flip in one confident motion. Cook for just 15–20 seconds more — any longer and the yolk starts to solidify.
The difference between over easy, over medium, and over hard is simply time: 15 seconds for runny, 45 seconds for jammy, 90 seconds for fully cooked.
The 5 Mistakes That Ruin Fried Eggs
1. Cooking on high heat. This is mistake number one. High heat creates rubbery whites with burnt, crispy bubbles and a raw yolk. Medium heat, always.**
2. Using a cold pan. Adding eggs to an unheated pan guarantees sticking. Preheat for 2 minutes minimum.**
3. Not enough fat. One tablespoon per egg is the rule. The fat creates a barrier between the egg and the pan.**
4. Moving the egg too early. Let the egg set for at least 30 seconds before touching it. The proteins need time to coagulate and release naturally.**
5. Flipping with the wrong tool. A thin, flexible spatula slides under the egg cleanly. A thick, rigid spatula breaks the yolk every time.**
Pro Tips for Next-Level Fried Eggs
Room temperature eggs cook more evenly than cold ones — take them out of the fridge 10 minutes before cooking.
For extra-crispy edges, increase the heat to medium-high for the final 30 seconds of cooking. The whites will bubble and crisp beautifully while the yolk stays runny.
Season at the end. Salt draws out moisture, and salting too early can make the whites weep water into your pan.
Cook one or two eggs at a time max. Crowding the pan drops the temperature and steams the eggs instead of frying them.
Frequently Asked Questions
Why do my eggs always stick to the pan? Three causes: pan not hot enough before adding fat, not enough fat, or moving the egg before the whites set. Fix these three things and sticking disappears.**
How do I know when the yolk is done without cutting it? Gently press the yolk with your finger (careful — it’s hot) or the back of a spoon. Runny yolks feel liquid under the surface. Jammy yolks feel like soft clay. Firm yolks feel solid.**
Can I fry eggs ahead of time? Fried eggs are best served immediately. However, you can cook them slightly underdone, refrigerate for up to a day, and reheat gently in a covered pan for 1 minute.**
The Bottom Line
Perfect fried eggs come down to four things: the right pan, enough fat, medium heat, and patience. Master these, and you’ll never serve a rubbery, broken, or stuck egg again. Start with a non-stick pan and butter if you’re a beginner, then graduate to cast iron once you’re confident. Your breakfasts will never be the same.